You have no items in your shopping cart.
-
 Home
Home
-
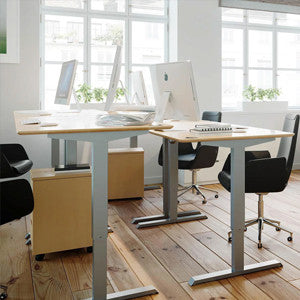
 Standing Desks
-
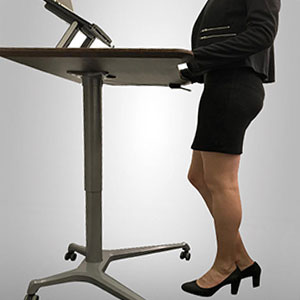
Non-electric Height Adjustable Desk
-
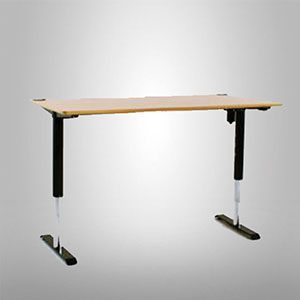
Electric Height Adjustable Desk
-
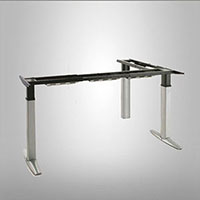
Base Only Desks
-
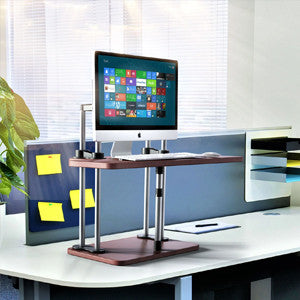
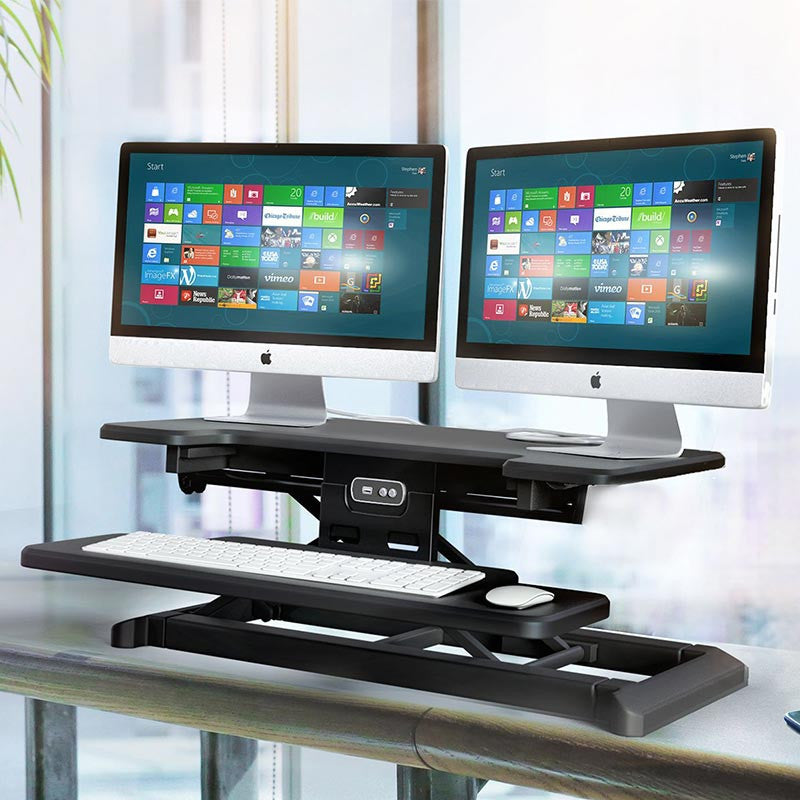
Sit Stand Converters for existing Desk

-
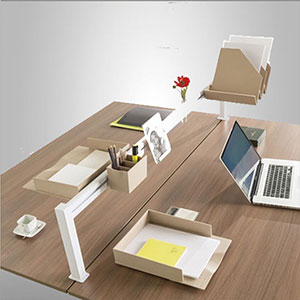
Desk Accessories
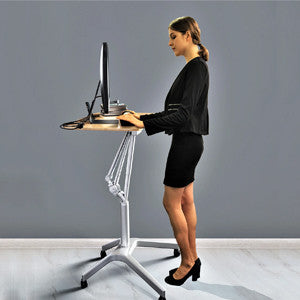
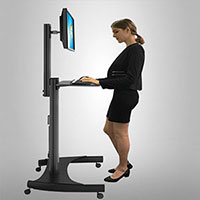
- Portable standing desk with wheels
- Laptop Desks
- Children height Adjustable Desk
- Best Work from Home Desk & Table in India – Optimize Your Home Office
- Height Adjustable Standing Desks
-
-
 TV Mounts
-
 Robots and AI solutions
-
Smart Robots
-
Temi Robots in India – The Future of AI-Powered Assistance
-
Bellabot Restaurant Robot
- RifeTemi Telepresence Robot
- Temi Educational Robot
- Delivery Robots Restaurants India
- Hotel Delivery Robot
- Hotel Room Service Robots
- Commercial Four-in-1 Versatile Cleaning Robots
- Robotic Solutions In Various Indutries
- HolaBot Delivery Robot for Hospitality
- Hospital Medical Robots in India
- Restaurant Robots in India – Revolutionizing the Dining Experience
- Hotel Robots in India – The Future of Hospitality Automation
- Delivery Robot Solutions for the Corporate Sector
- Delivery Robot Solutions in the Telepresence Industry
- Delivery Robot Solutions for Warehousing & Logistics
- Robot Solutions in the Advertisement and Event Industry
- Revolutionizing Healthcare with Delivery Robot Solutions
- Smart Delivery Robot Solutions for Receptions
- Transforming Educational Institutions, R&D Centers with Delivery Robot Solutions
- Innovative Delivery Robot Solutions for Experience Centers
- AI-Powered Smart Solutions for Supermarkets
-
-
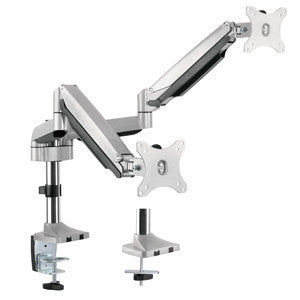
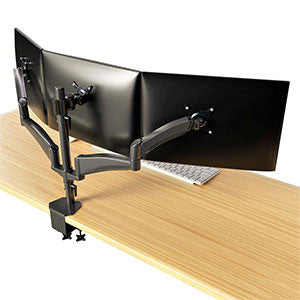
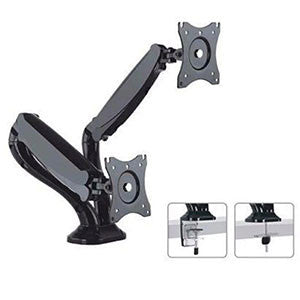
 Monitor Mounts
-
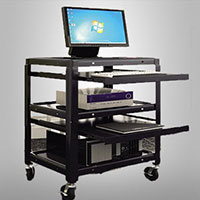
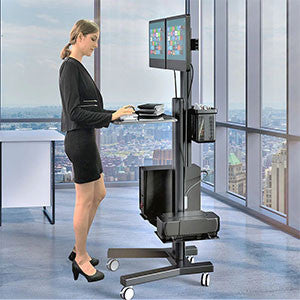
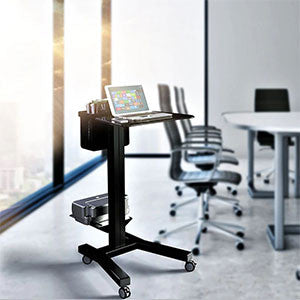
 Computer Carts
-
Computer Carts & trolley
-
Laptop Carts
- AV Carts
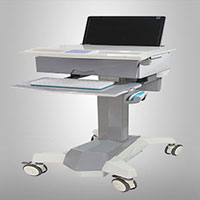
- Medical Carts
- Sit Stand Workstations
- Wall Mounted Workstations
- Telemedicine Carts
- Mobile Stand-Up Solutions
- Computer Carts in Corporate Healthcare & Wellness Centers
- Computer Carts in Military & Defense Medical Units
- Computer Carts in Government Health Departments & Public Health Programs
- Computer Carts in Pharmaceutical & Biotech Companies
- Computer Carts for Diagnostic Labs & Pathology Centers
- Computer Carts in Telemedicine & Telehealth Centers
- Computer Carts in Nursing Homes & Elderly Care Centers
- Computer Carts in Corporate & IT Companies
-
-
 Tablet Mounts
-
 Charging Carts
-
 Smart Lockers
-
 Storage Lockers & Cabinets
- Medical Furniture
- Video Conference Solutions
- Privacy screen
- LED display solutions
- Smart Shelves
- RFID Smart Shelves
- SmartShelf: The Future of Retail Shelf Management
- Laptop Stand
- Ergonomic Workstation Accessories
- Lecterns, Podium, & Kiosk in India
- Sit-Stand Saddle Stools: The Ultimate Solution for Comfort and Flexibility in India
- Buying Guides on our products
- Blogs


← Older Post Newer Post →
0 comments